In this tutorial, you will learn, how to install Nagios on CentOS 6. #centlinux #linux #nagios
Table of Contents
What is Nagios Core?
Nagios Core is a free and open source computer-software application that monitors systems, networks and infrastructure. Nagios offers monitoring and alerting services for servers, switches, applications and services. It alerts users when things go wrong and alerts them a second time when the problem has been resolved. Nagios Core is the monitoring and alerting engine that serves as the primary application around which hundreds of Nagios projects are built.
In this article, we will setup a network monitoring server by installing Nagios Core 4.2 on a preconfigured CentOS 6 machine.
Before moving forward, it is required to have basic concepts of Nagios Core 4. Therefore, it is highly recommended that you should have Learning Nagios – Third Edition (PAID LINK). It will be really helpful for you during your Nagios journey.
Read Also: How to install LAMP on CentOS 7
System Specification:
Nagios Core 4.2 does not have any specific system requirements except it requires a Linux 5/6/7 Server. Therefore, we have setup a virtual machine with the following specification:
- CPU – 2.4 Ghz (2 cores)
- Memory – 1 GB
- Storage – 20 GB
- Swap – 2 GB
- Operating System – CentOS 6.7
Installing Nagios Core 4.2 on CentOS 6:
Verify kernel version and network configurations.
# uname -a
Linux nagios01.test.local 2.6.32-573.el6.x86_64 #1 SMP Thu Jul 23 15:44:03 UTC 2015 x86_64 x86_64 x86_64 GNU/Linux
# ip addr
1: lo:  mtu 65536 qdisc noqueue state UNKNOWN
    link/loopback 00:00:00:00:00:00 brd 00:00:00:00:00:00
    inet 127.0.0.1/8 scope host lo
    inet6 ::1/128 scope host
       valid_lft forever preferred_lft forever
2: eth0:  mtu 1500 qdisc pfifo_fast state UP qlen 1000
    link/ether 00:0c:29:c6:33:f9 brd ff:ff:ff:ff:ff:ff
    inet 192.168.79.139/24 brd 192.168.79.255 scope global eth0
    inet6 fe80::20c:29ff:fec6:33f9/64 scope link
       valid_lft forever preferred_lft forever
Install required packages using yum.
# yum install -y make net-snmp httpd php gcc glibc glibc-common gd gd-devel wget unzip
Create User and Group for Nagios.
# useradd nagios
# groupadd nagcmd
Add users to nagcmd group.
# usermod -G nagcmd nagios
# usermod -G nagcmd apache
Create a directory to download Nagios packages.
# mkdir -p /soft/nagios
# cd /soft/nagios
Download Nagios Core 4.2 and Nagios Plugins 2.1 tarballs from https://www.nagios.org/.
# wget https://assets.nagios.com/downloads/nagioscore/releases/nagios-4.2.0.tar.gz
# wget https://nagios-plugins.org/download/nagios-plugins-2.1.2.tar.gz
Extract downloaded tarballs.
# tar -xvf nagios-4.2.0.tar.gz
# tar -xvf nagios-plugins-2.1.2.tar.gz
Compile and install Nagios Core.
# cd /soft/nagios/nagios-4.2.0
# ./configure --with-command-group=nagcmd
# make all
# make install
# make install-init
# make install-commandmode
# make install-config
# make install-webconf
Configure Nagios Core 4.2 on CentOS 6:
Open contact.cfg file in vi editor.
# vi /usr/local/nagios/etc/objects/contacts.cfg
and change the email address of nagiosadmin with your email address to receive notifications.
define contact{
        contact_name            nagiosadmin             ; Short name of user
        use                     generic-contact         ; Inherit default values from generic-contact template (defined above)
        alias                   Nagios Admin            ; Full name of user
        email                   ahmer.mansoor@gmail.com       ; <<***** CHANGE THIS TO YOUR EMAIL ADDRESS ******
        }
Nagios Core does not provide any authentication method, therefore we are required to setup Basic HTTP Authentication for Nagios web interface.
# htpasswd -s -c /usr/local/nagios/etc/htpasswd.users nagiosadmin
Start httpd service and enable it on runlevel 3 and 5.
# service httpd start
# chkconfig --level 35 httpd on
Compile and install Nagios Plugins.
# cd /soft/nagios/nagios-plugins-2.1.2
# ./configure --with-nagios-user=nagios --with-nagios-group=nagios
# make
# make install
Verify Nagios configurations.
# /usr/local/nagios/bin/nagios -v /usr/local/nagios/etc/nagios.cfg

Nagios Core 4.2.0
Copyright (c) 2009-present Nagios Core Development Team and Community Contributors
Copyright (c) 1999-2009 Ethan Galstad
Last Modified: 08-01-2016
License: GPL

Website: https://www.nagios.org
Reading configuration data...
   Read main config file okay...
   Read object config files okay...

Running pre-flight check on configuration data...

Checking objects...
        Checked 8 services.
        Checked 1 hosts.
        Checked 1 host groups.
        Checked 0 service groups.
        Checked 1 contacts.
        Checked 1 contact groups.
        Checked 24 commands.
        Checked 5 time periods.
        Checked 0 host escalations.
        Checked 0 service escalations.
Checking for circular paths...
        Checked 1 hosts
        Checked 0 service dependencies
        Checked 0 host dependencies
        Checked 5 timeperiods
Checking global event handlers...
Checking obsessive compulsive processor commands...
Checking misc settings...

Total Warnings: 0
Total Errors:   0

Things look okay - No serious problems were detected during the pre-flight check
Start nagios service and enable it on Runlevel 3 and 5.
# chkconfig --level 35 nagios on
# service nagios start
Disable SELinux.
# setenforce 0
# sed -i 's/^SELINUX=.*/SELINUX=disabled/g' /etc/selinux/config && cat /etc/selinux/config
Allow HTTP Port in Linux firewall using iptables.
# iptables -I INPUT 5 -p tcp --dport 80 -m state --state NEW,ESTABLISHED -j ACCEPT
# service iptables save
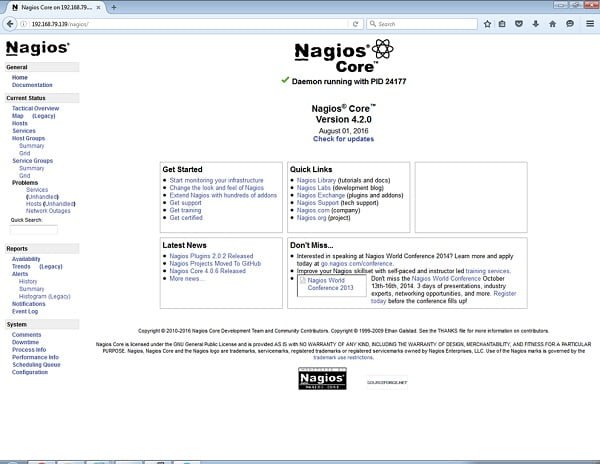
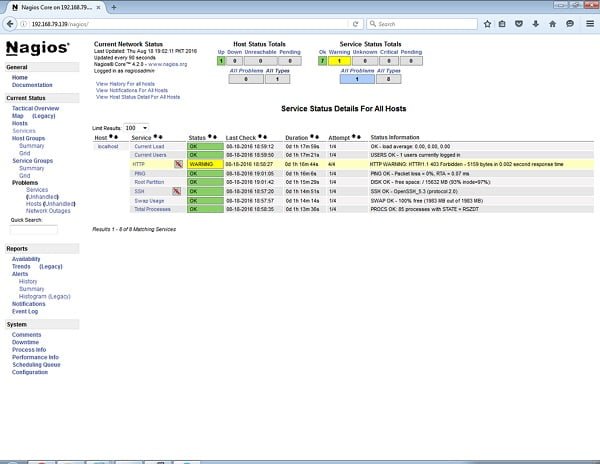
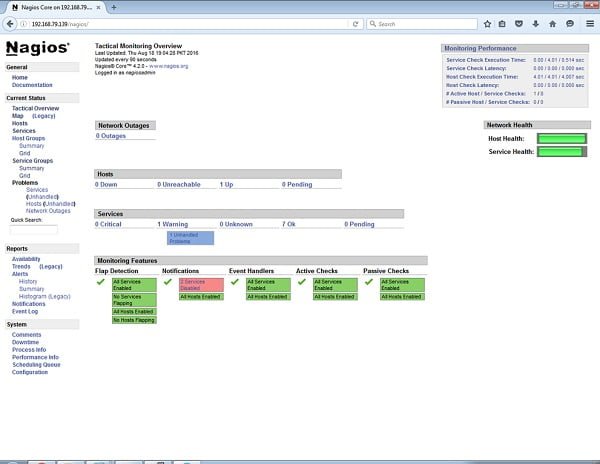
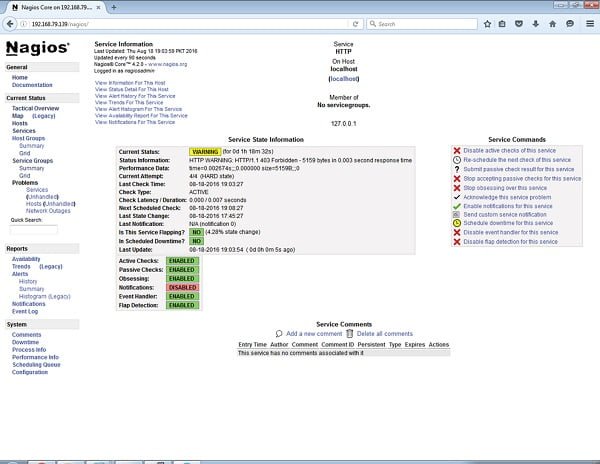
Now open Nagios in browser, and user the nagiosadmin to login.


Conclusion – Install Nagios on CentOS 6:
Nagios Core 4.2 Server has been installed successfully on our CentOS 6.7 server.


