Follow the best guide for Ubuntu Server installation 20.04 LTS. Learn step-by-step instructions to set up Ubuntu Server 20.04 LTS on your system with ease and efficiency. #centlinux #linux #ubuntu
Table of Contents
What is Ubuntu?
Ubuntu is a widely-used Linux distribution that is based on Debian and primarily composed of free and open-source software. It is designed to provide a user-friendly and stable environment for both beginners and advanced users alike.
Ubuntu is officially available in three distinct editions, each catering to different use cases:
- Ubuntu Desktop – This edition offers a free and full-featured Linux operating system tailored for desktop PCs. It provides an intuitive graphical user interface (GUI) and is perfect for general-purpose computing, including web browsing, media consumption, and productivity.
- Ubuntu Server – A robust and enterprise-grade server operating system, Ubuntu Server is built with the needs of businesses and cloud infrastructure in mind. It is completely open-source and free to use, offering flexibility, security, and performance for running server applications and services.
- Ubuntu Core – This edition is designed specifically for embedded systems and Internet of Things (IoT) devices, such as the Raspberry Pi. It provides a lightweight, transactional operating system optimized for smaller, resource-constrained environments.
In addition to its dominant position in the desktop consumer market, Ubuntu has gained significant traction in the server operating system space. Ubuntu Server is supported by major enterprise applications and software platforms like Oracle, Docker, Kubernetes, and NextCloud, making it a popular choice for businesses and cloud-based environments.
Ubuntu 20.04 System Requirements
The recommended system requirements are:
- CPU: 1 gigahertz or better
- RAM: 1 gigabyte or more
- Disk: a minimum of 2.5 gigabytes
To get started with Ubuntu Server 20.04 LTS, you’ll need a reliable hardware or virtual environment that supports a 64-bit processor, at least 2 GB of RAM, and sufficient storage space. For those looking to experiment and learn Linux server administration hands-on, using a dedicated Mini PC is an excellent choice due to its compact size, low power consumption, and full control over your environment.
[Power Your Projects with the Best Mini PC – Shop Now!]
Alternatively, a VPS (Virtual Private Server) from providers like Rose Hosting offers an affordable and scalable solution with easy remote access and minimal setup time. Both options provide a practical platform to deploy, test, and manage Ubuntu Server in a real-world setting.
[Discover the Power of Rose Hosting VPS – Limited Time Offer!]
Check out our recommended Mini PCs and Rose Hosting VPS plans through the affiliate links below to jumpstart your Linux journey.
Disclaimer: This post contains affiliate links. If you purchase through these links, we may earn a commission at no extra cost to you, which helps support our content creation.
Download Ubuntu Server 20.04
Currently, Ubuntu Server 20.04.2 LTS ISO is available for free download at Ubuntu official website.
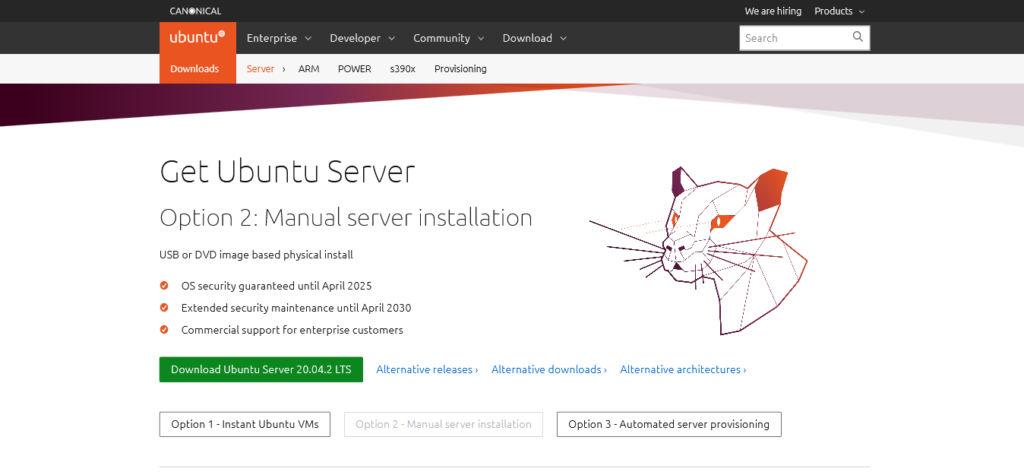
While it’s possible to download a preinstalled Ubuntu virtual machine (VM) for quick setup, we are opting to manually download the Ubuntu Server operating system to demonstrate the detailed installation process. This approach will provide a deeper understanding of the steps involved in setting up Ubuntu Server from scratch.
For this installation, we have provisioned a Virtual Machine (VM) with the following specifications, which are optimized to run Ubuntu Server efficiently and effectively during the demonstration.
- CPU – 3.4 Ghz (Single core)
- RAM – 1 GB
- Disk – 60 GB
Ubuntu Server Installation 20.04 LTS
First, attach the Ubuntu Server ISO file to the virtual machine by selecting it from your storage options. Once the ISO is properly attached, proceed to power on and start the VM guest. This will initiate the boot sequence from the attached ISO, allowing you to begin the installation process of Ubuntu Server.

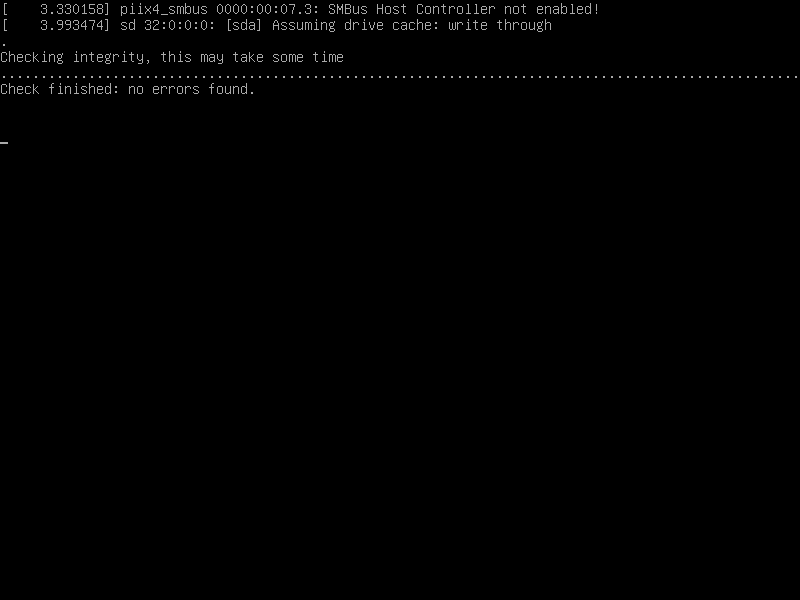
Once the virtual machine successfully starts up, the Ubuntu installer will prompt you to choose your preferred language for the operating system. This language selection will determine the system’s default language for installation and user interface, ensuring that your Ubuntu Server environment is tailored to your language preferences throughout the setup process.
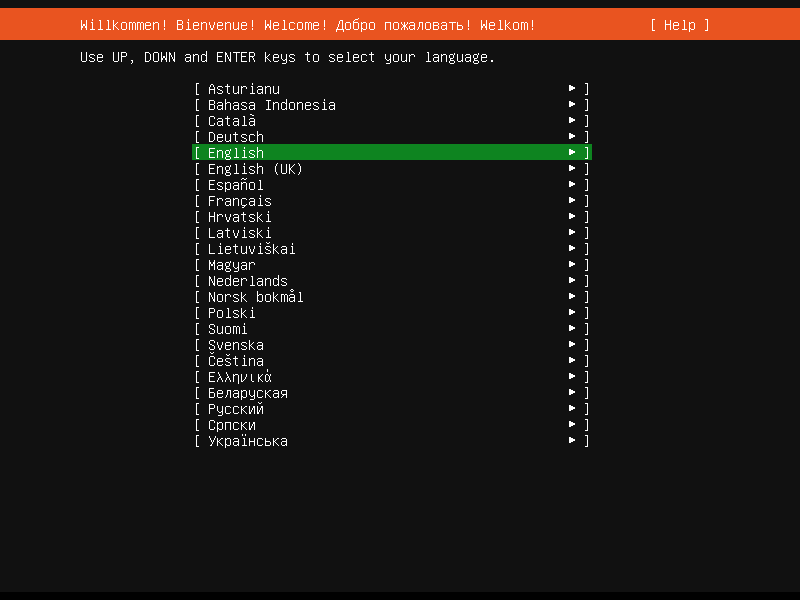
Choose your preferred language and press <ENTER>.
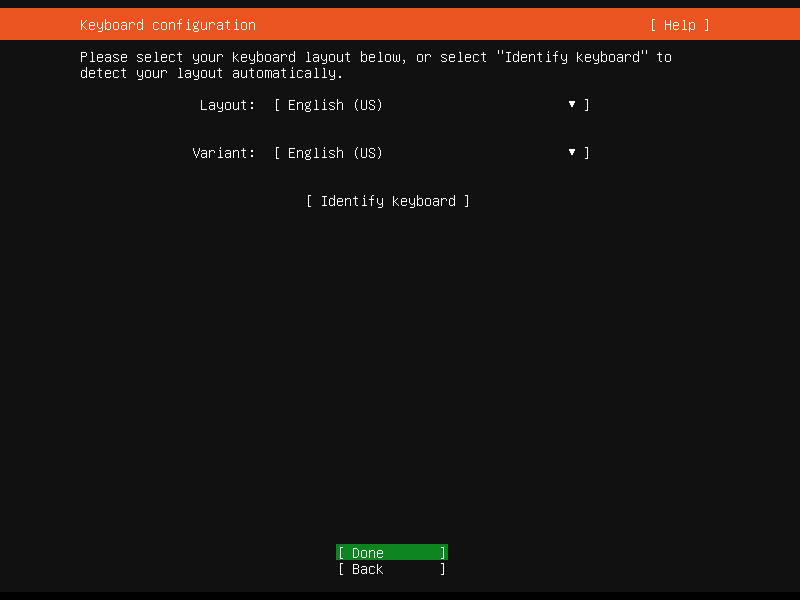
At this point, the Ubuntu installer will prompt you to select your preferred keyboard layout. This step is crucial for ensuring that your keyboard is properly configured to match your language and regional settings.
If you’re unsure about your keyboard layout, you can use the ‘Identify keyboard’ option, which will help you automatically detect the layout by prompting you to press specific keys and confirming the correct configuration.
Press ‘Done’ after selecting the Keyboard Layout.
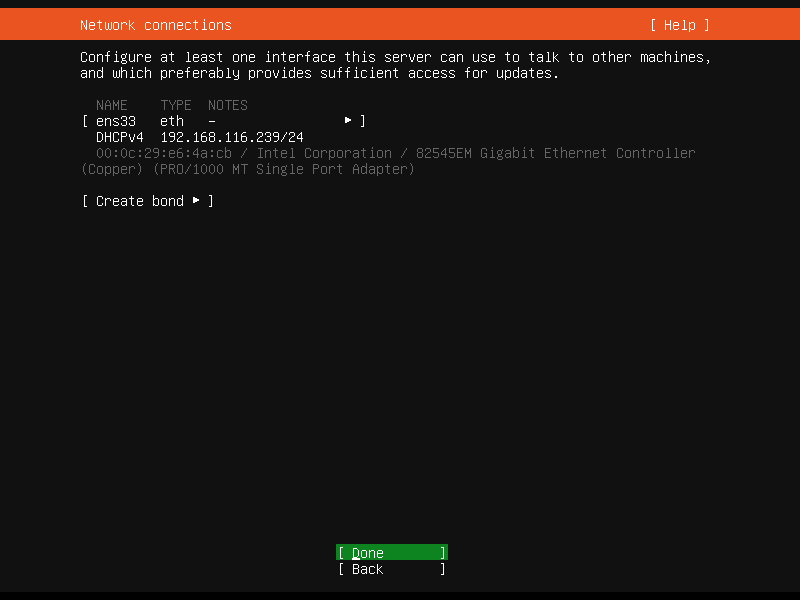
Since we are performing the installation on a Virtual Machine, the Ubuntu installer has automatically detected the DHCP network configuration, making it easy to get started without manual intervention. However, if you have specific network requirements, you can customize your network settings directly from this screen, allowing you to configure static IP addresses, DNS servers, and more.
Additionally, if your virtual machine is equipped with more than one network interface, this screen gives you the option to create network bonds. Network bonding combines multiple network interfaces to improve redundancy and throughput, which can be particularly useful in environments requiring high availability or better network performance.
Press ‘Done’ after finishing your network configuration.
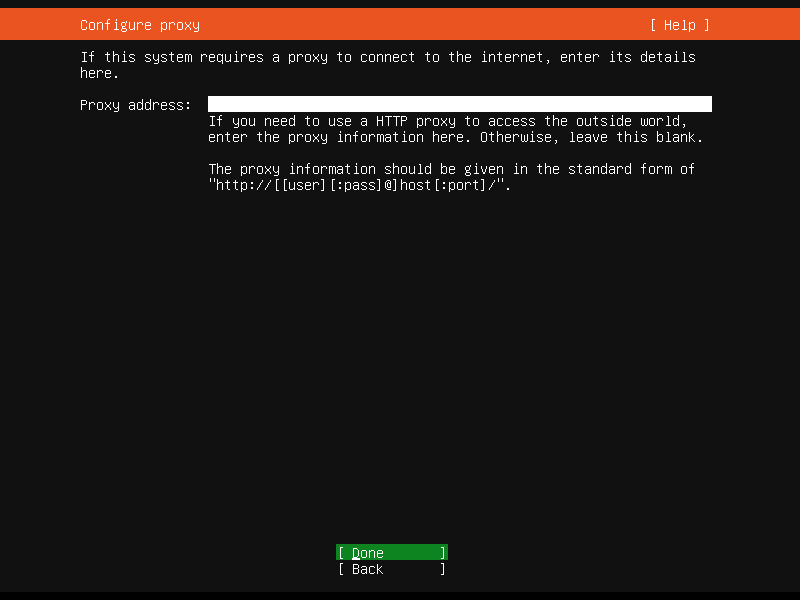
If your system is configured to access the Internet through a network proxy server, you will need to provide the proxy address during this step. This ensures that your Ubuntu installation can properly route traffic through the proxy. If your system does not require a proxy to connect to the Internet, simply leave the proxy address field blank.
Once you’ve made your selection, press ‘Done’ to proceed to the next step of the installation process.
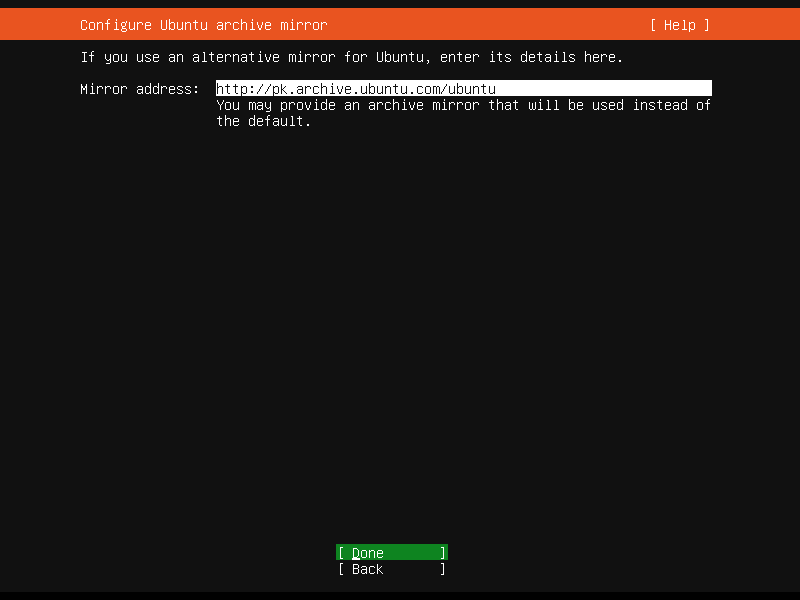
If you are using a custom or alternate archive mirror for your Ubuntu server, this is the stage where you can configure it. By specifying a different mirror, you may improve download speeds or connect to a repository that is geographically closer to your location.
However, if you are satisfied with the default Ubuntu archive mirror, simply press ‘Done’ to continue the installation process using the standard repository.
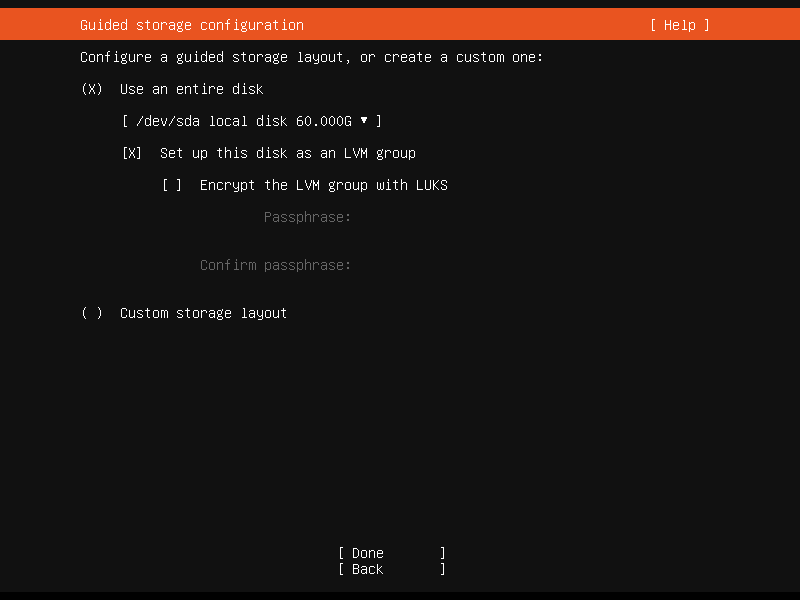
At this point, you can configure the storage options for your Ubuntu server. The installer offers two main choices: you can opt for the guided layout, which automatically creates the default disk partitioning scheme based on Ubuntu’s best practices, making the process faster and easier.
Alternatively, if you require more control over the disk configuration, you can choose to manually configure your own disk layout. This allows you to customize partition sizes, formats, and mount points according to your specific needs, which is useful for advanced setups or optimizing storage for specific use cases.
Press ‘Done’.
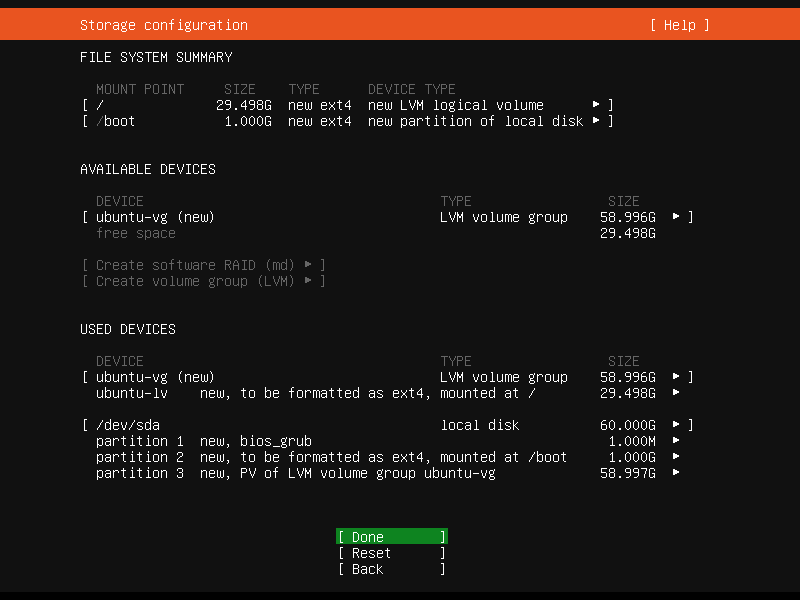
Take a moment to carefully review the final disk layout presented by the installer. This layout reflects the partitions, file systems, and mount points that will be created on your system.
If everything looks correct and aligns with your intended configuration, you can proceed by pressing ‘Done’ to confirm and apply the changes. If adjustments are needed, you can go back and modify the layout before finalizing the setup.
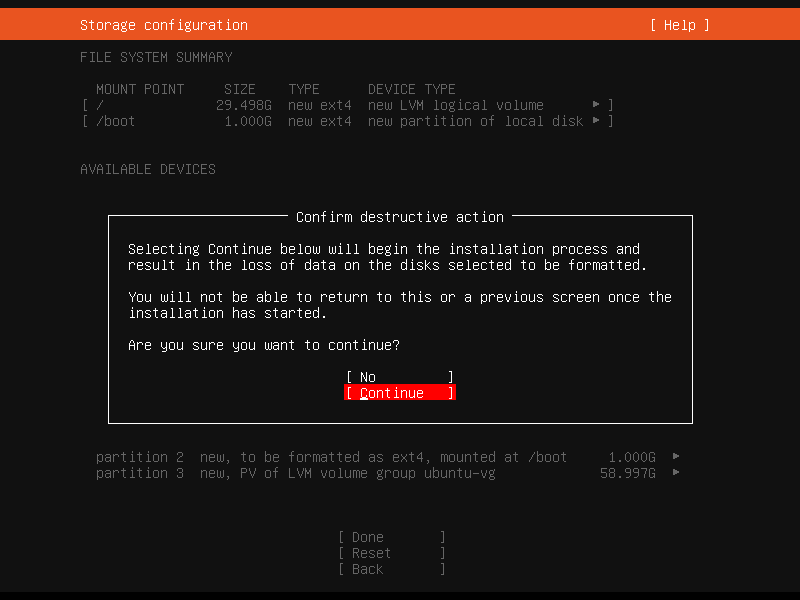
The Ubuntu installer is asking for a confirmation. Press ‘Continue’ to apply the disk layout.
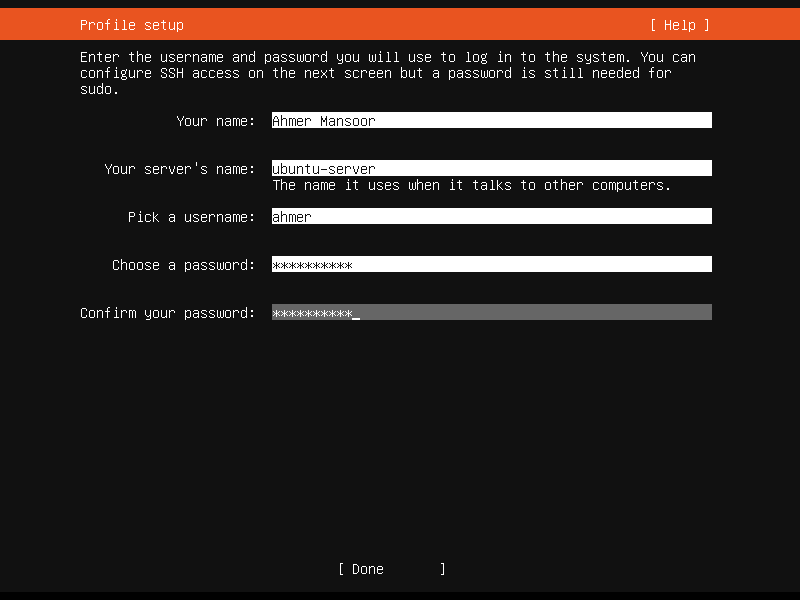
On this screen, you will have the opportunity to create a user profile for your Ubuntu server. This user will have administrative privileges, allowing them to execute commands with sudo for elevated permissions, which is crucial for managing and configuring the system.
Additionally, the user will be able to log in to your Ubuntu server, either locally or remotely, enabling you to carry out administrative tasks and manage the server. Make sure to choose a strong username and password for security purposes.
Provide the required information and press ‘Done’ to continue.
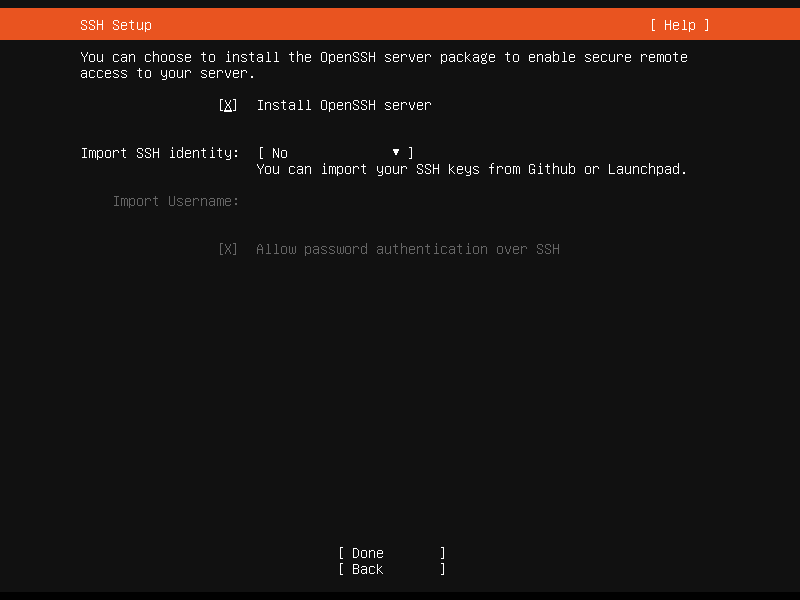
If you plan to access your server remotely — and most likely you will need to — it is essential to install the OpenSSH server at this stage. OpenSSH enables secure remote login and management of your Ubuntu server over a network, allowing you to connect via SSH from other machines.
Simply select and install the OpenSSH server now, and it will be set up, allowing you to remotely administer the server with encryption and security.
Press ‘Done’ to continue.
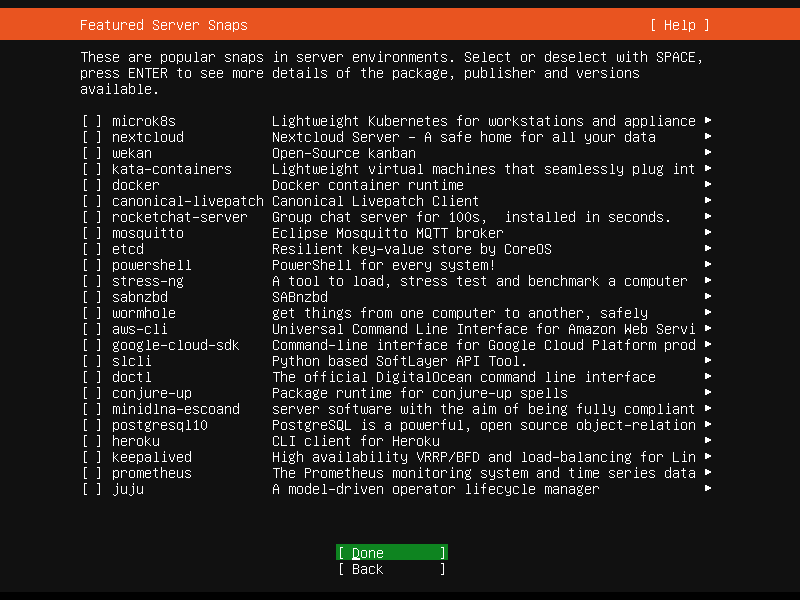
The Ubuntu installer is now showing the featured server snaps, that you can install on your Ubuntu server.
No worries, you can install them later anytime. Therefore, Press ‘Done’ to move on with the Ubuntu server installation.
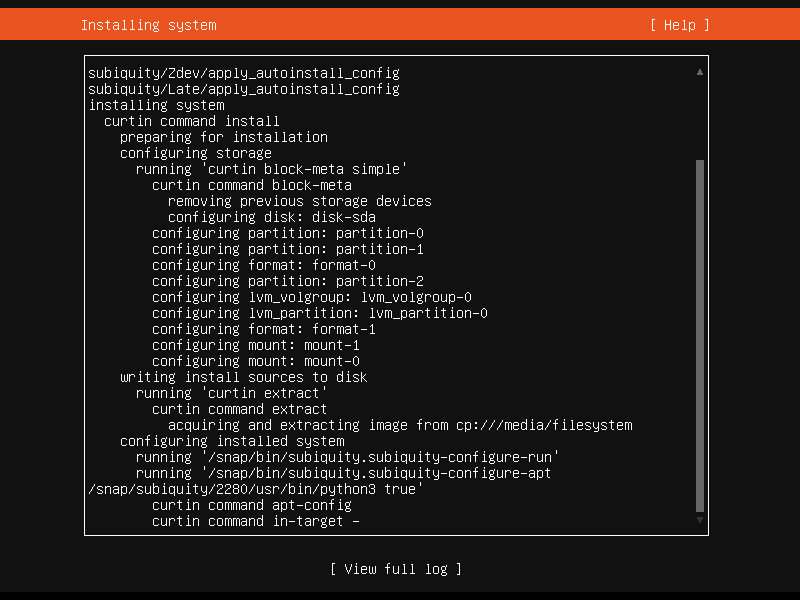
Ubuntu server installation has been started.
The installation process may take some time to complete, as it involves not only setting up the Ubuntu Server environment but also downloading and applying the latest security patches and updates. This ensures that your system is up to date with the latest security fixes and improvements, providing a more secure and stable environment for your server once the installation is finished.
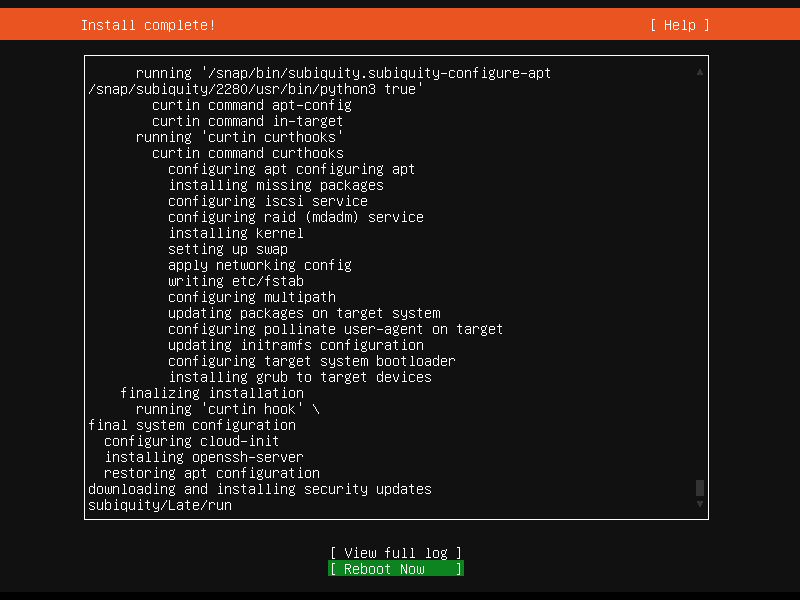
After completion of installation process. Press ‘Reboot Now’ to restart your machine.
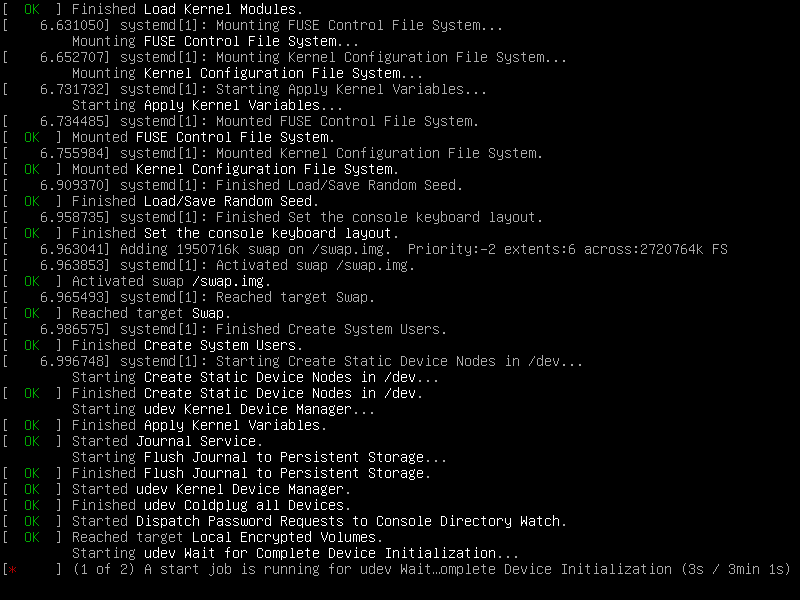
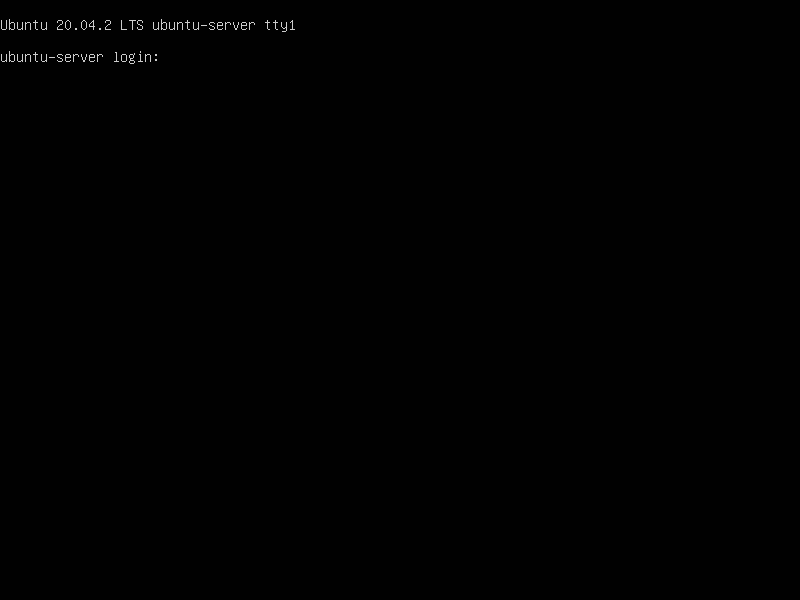
After reboot, you may reach at the CLI login prompt.
Login as the new user, that you have created during Ubuntu server installation.
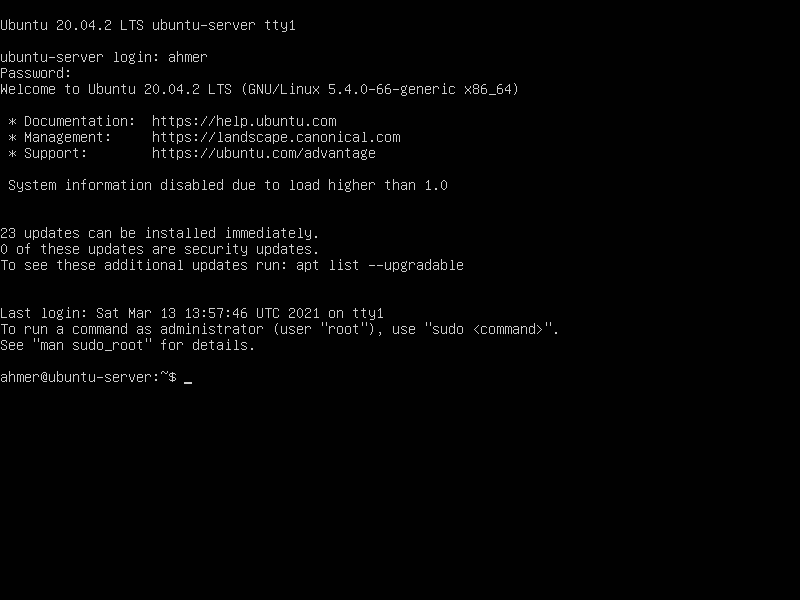
You have successfully login to the Linux server and reached at the Bash prompt.
Conclusion
In conclusion, this guide provides all the essential steps for a smooth and successful Ubuntu Server installation 20.04 LTS. By following these instructions, you can ensure that your server is set up securely, efficiently, and ready to run applications. Ubuntu Server 20.04 LTS offers long-term support, stability, and flexibility, making it an ideal choice for both personal and enterprise use. Whether you’re a beginner or an experienced Linux user, this guide helps you get Ubuntu Server up and running with minimal hassle.
Searching for a skilled Linux admin? From server management to security, I ensure seamless operations for your Linux systems. Find out more on my Freelancer profile!
Recommended Courses
If you are new to Linux and want a solid starting point, I highly recommend Ubuntu Linux Server Basics by Cody Ray Miller. This beginner-friendly guide walks you step by step through setting up and managing Ubuntu servers, making it perfect for students, sysadmins, and developers who want practical hands-on knowledge. With clear explanations and real-world examples, this resource can fast-track your Linux learning journey and save you countless hours of trial and error.
Disclaimer: This post contains affiliate links. If you purchase through these links, I may earn a small commission at no extra cost to you.

Leave a Reply
You must be logged in to post a comment.